Ultimate Indie - Week 6 day 2 Boba Tycoon Prototyping
I have had a bit of trouble deciding which way to go on this and have been stuck for a few days - maybe that’s also why I have taken so long to write a new post. I wrote the previous post a few days ago actually but didn’t want to make it a full entry until I figured more out. I should have just posted it 😂 I posted it now but backdated it just to clean it up chronologically.
Because I have been so stuck, I think I have not enough information to continue. This is usually the point where I stay stuck and give up and move on to another project, or hobby. But I am trying to to something different these days - to get unstuck I need more information.
And sometimes the information I really need is the information I get from experience.
Bezi
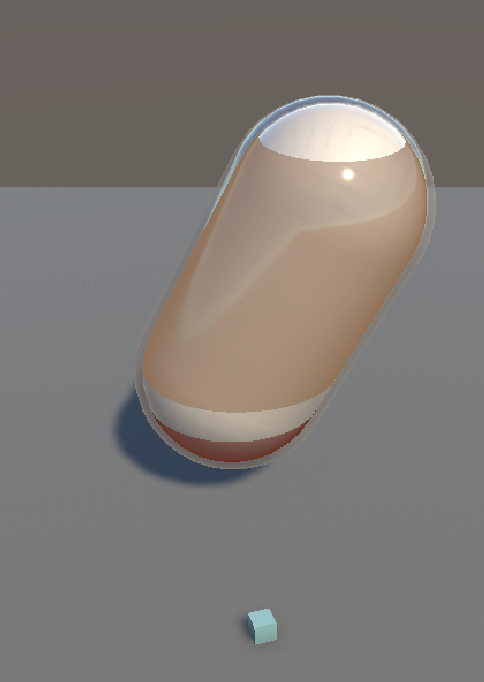
Yesterday I decided to try out Bezi to see if it could help me with the 3D version. A few iterations here and there and I got some stuff kinda working:
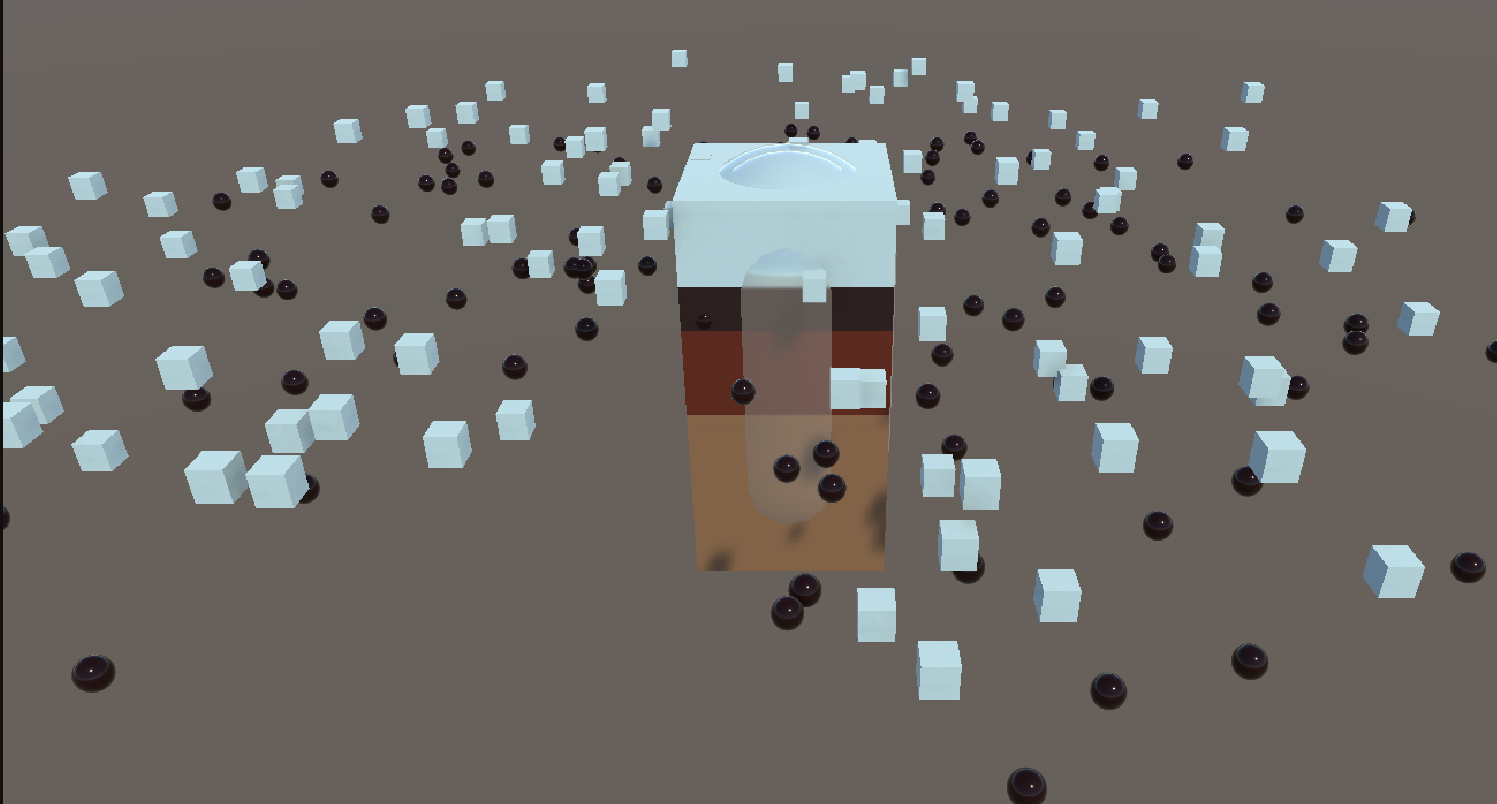
This was with a cube prefab that resized to the height of the volumes, the particles are everywhere though!
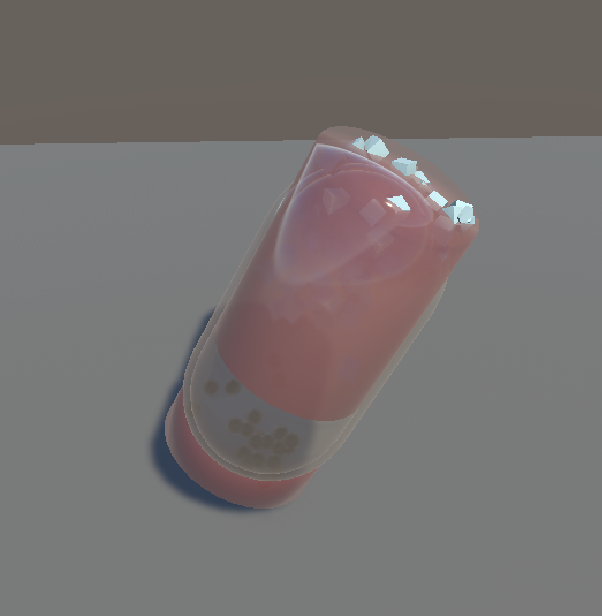
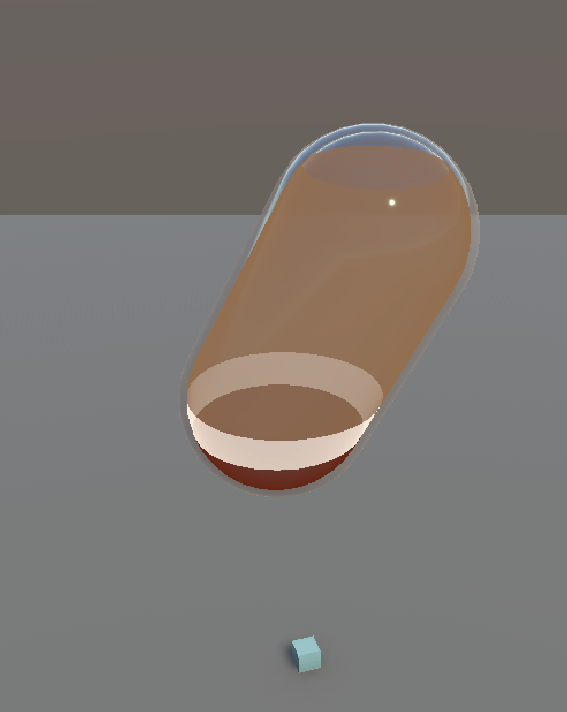
I actually quite like how this one looked. It did cylinder mesh layers for the liquid instead of using a cube prefab and the particles were contained properly and the volumes displaced the liquid it sat in. The only issue was it didn’t move like liquid with gravity, and the particles were static. This one also had some transparency issues from the glass shader I was using too.
Here is a bonus video of what it does now because of some collider stuff 😂
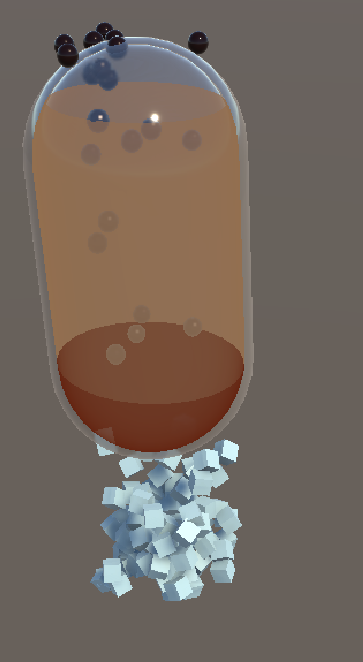
This one is where a shader like MinionsArt came in and the particles where still trying to be contained in this invisible cylinder 😂 The ice didn’t stay at the top and the pearls didn’t stay at the bottom!
Here I asked Bezi to ignore the particles for a now to get the layers working right. This ended up pretty close, but the opaque layers looked more like hollow tubes than layers. Turns out this is a hard problem to solve 🌚
It was about 10:30pm at this point last night where I was trying to get it to generate a mesh to cover the gap but because I just blindly pasted things in I had trouble debugging it myself.
Lesson learned: no more blindly pasting. I want to understand what I put in. Also: Bezi’s 50 credits are very easy to reach - from these 2-3 hours using Bezi I got to 40/50 of my free credits.
This morning I decided that I needed more info about what I would do with 2D. I’ve started asking Claude Sonnet for advice since my googling keeps coming up with not much: either no good answer OR there is something but it way wayyyy past my understanding. I’m trying to use it to close the gaps so I can understand and use the example I see and convert it for my particular case.
So now I’m trying to get information about a 2d method. I really like AdamCYounis’ acid pool:
It’s fake 3D liquid that reacts to surfaces. And it looks how I want. The camera angles were always going to be fixed for this so I don’t see an issue why I can’t use this. The main barrier when I saw this was that I had never done any of what he was explaining. Because of that and the fact it was not a tutorial, I did not know how to action it.
This is where I have decided to try to use Claude Sonnet - this is what Bezi uses, aside form being hooked into your Unity app.
Claude Sonnet
First thing I did was feed as much context I could to it - it doesn’t have access to my files. I gave it relevant information and asked about which way would be best. I showed it the acid pool and some other tutorials that I found that utilized springs. But most importantly, I’ve asked it to tell me what is going on and go step by step. I want to learn - not just get a result I have no dea how to debug.
Step 1: Springs
The first step was to make a spring that could bounce off a key press trigger:
Then the next was the make a chain that rippled:
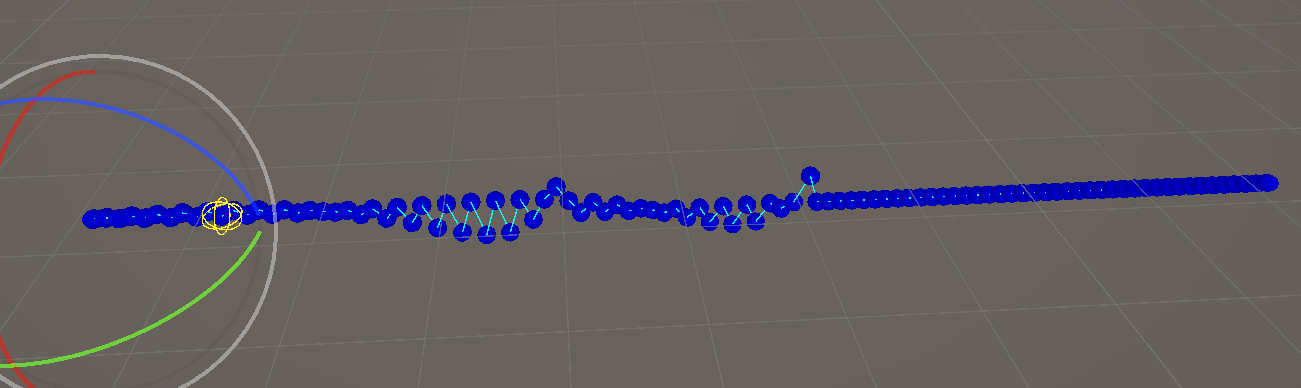
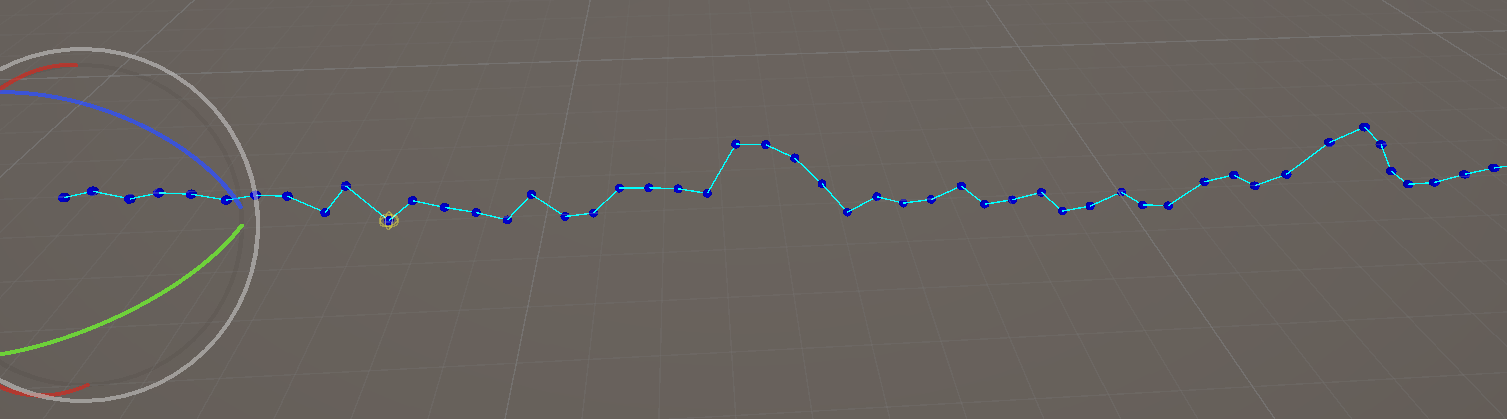
At this point I realised Claude wasn’t giving me explanations so I asked it to explain so I could actually learn 🤓 After reading through the explanation a bit I thought that the code about the neighbours was a bit odd. It read like it was only pulling neighbours up and down? And then I examined the behaviour and though it looked like a zig zag rather than a wave:
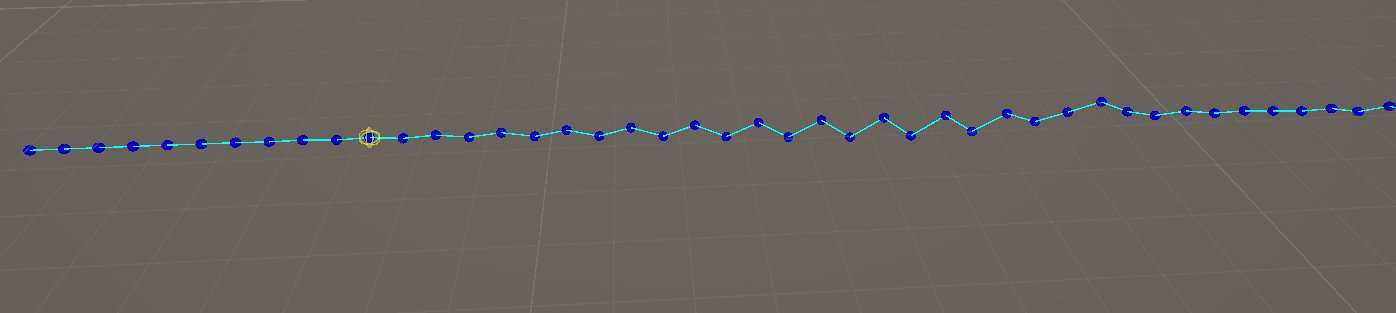
So I went into one of the tutorials I linked it and read that it it had some differences. I got CLaude to read it again and it gave me an update:
The difference is subtle but it felt more right - a freeze frame shows it looks more like a wave than a zigzag:
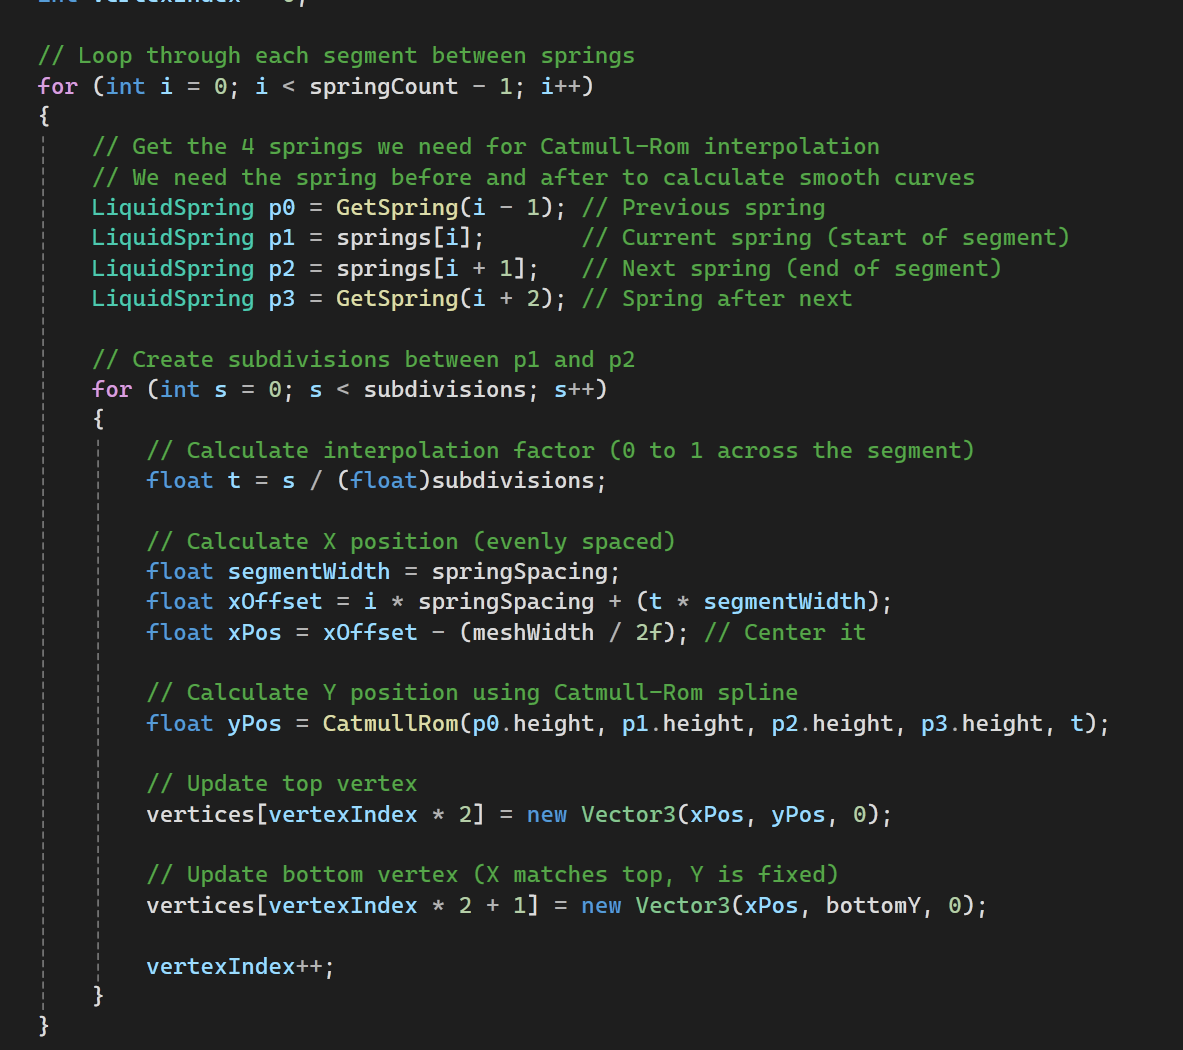
Step 2: Meshes
This is the step where we add a mesh to follow the springs. As the other tutorial said, GPUs cant draw trapezoids so it has to be triangles, and the way we get triangles is by getting 3 points. Since there are 2 triangles to draw, we need 4 points!
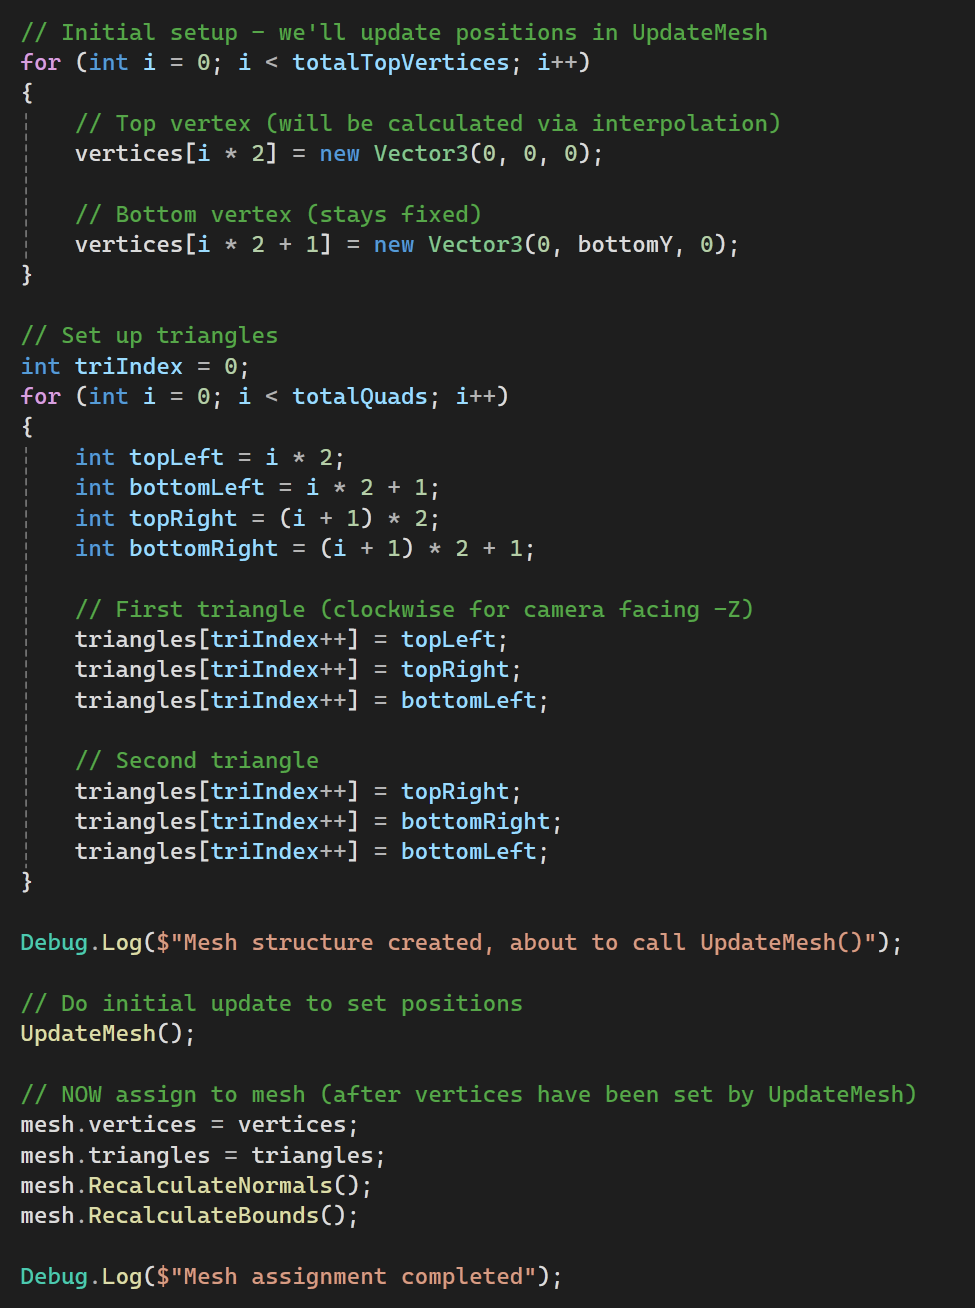
Initially this had the draw order of the vertices the wrong way so I was looking at the backface and it looked invisible. I changed the order and it showed up right! But it was misaligned.
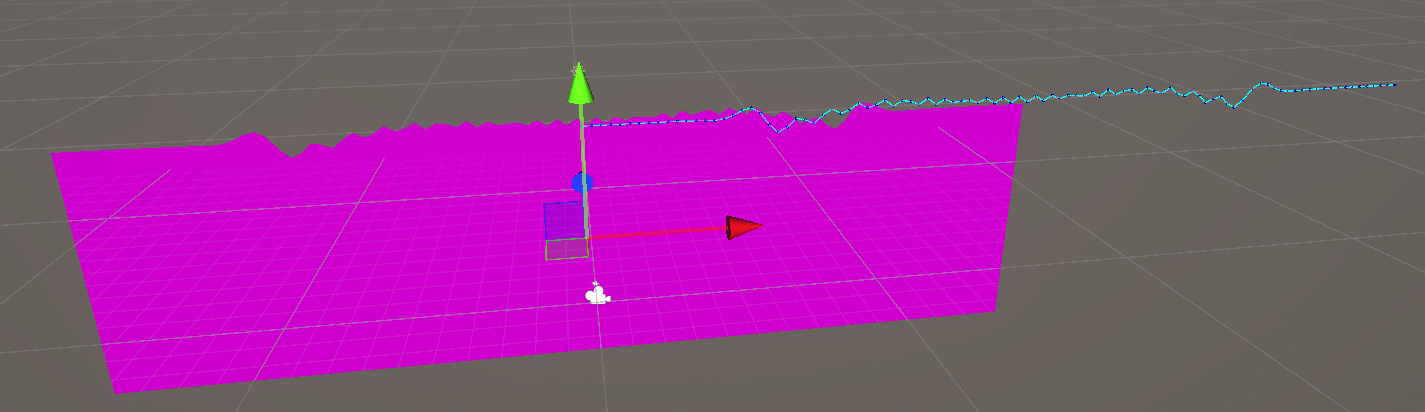
I got Claude to update the offset for the gizmos and it lined up - but the next part was bugging me - it looked so jagged.
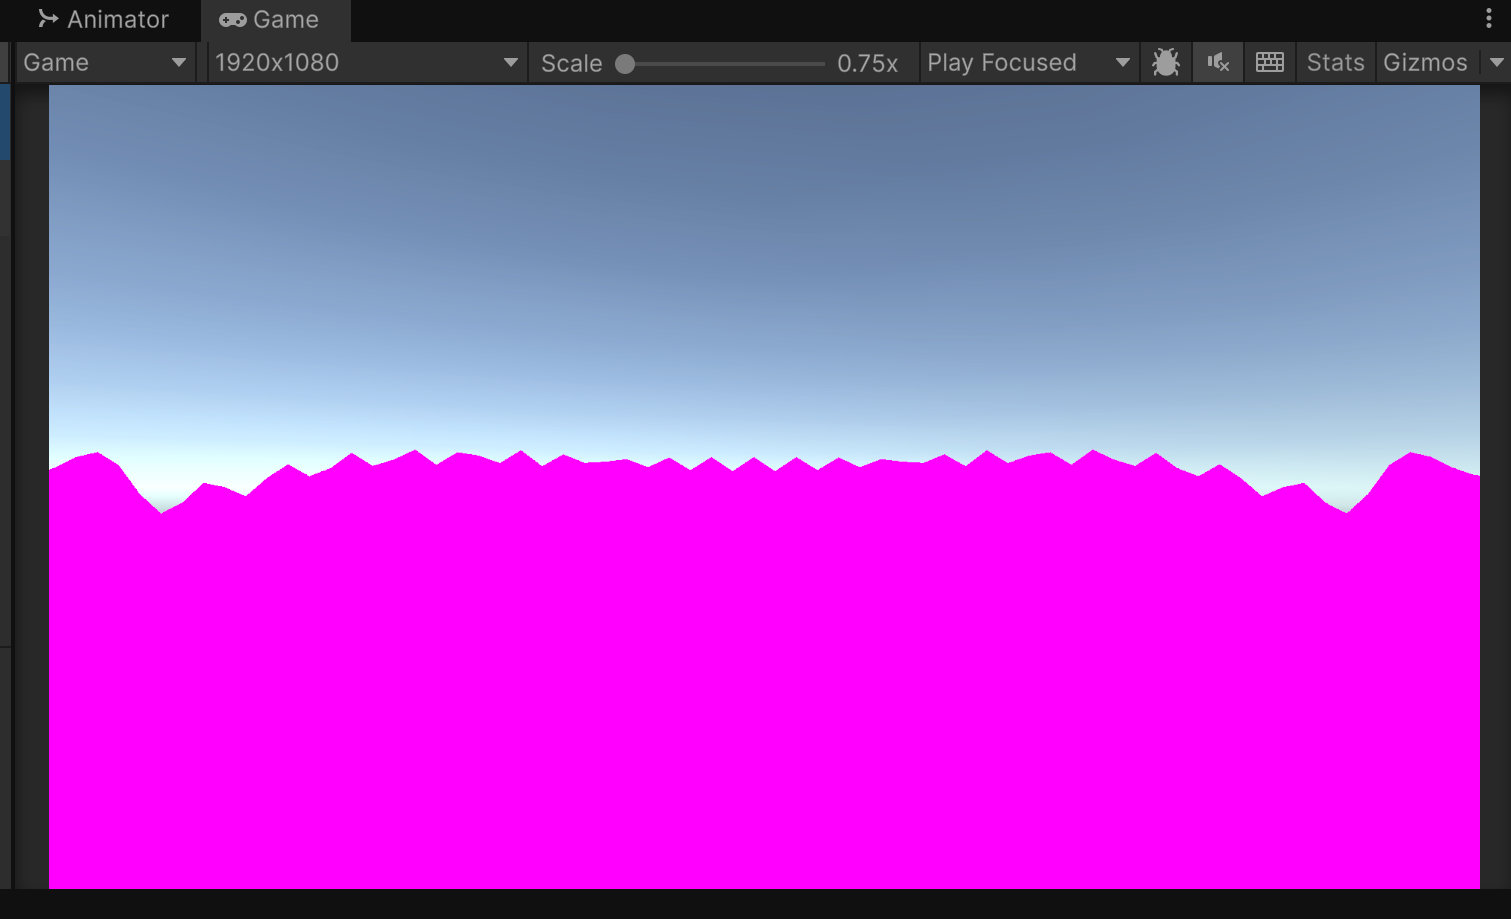
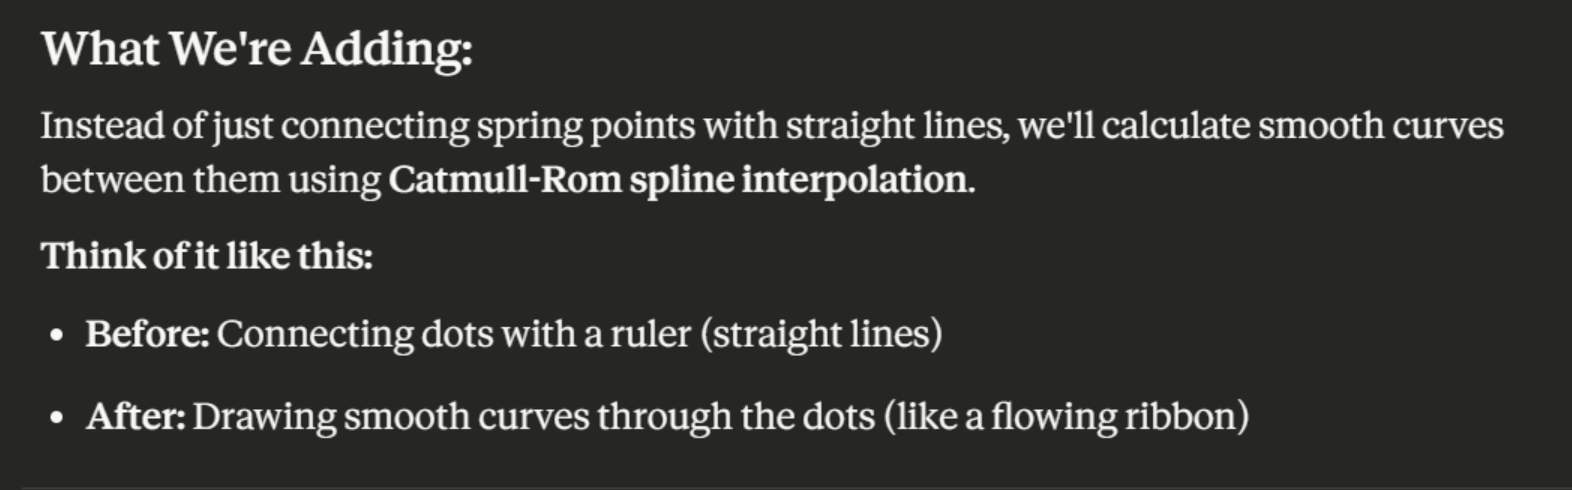
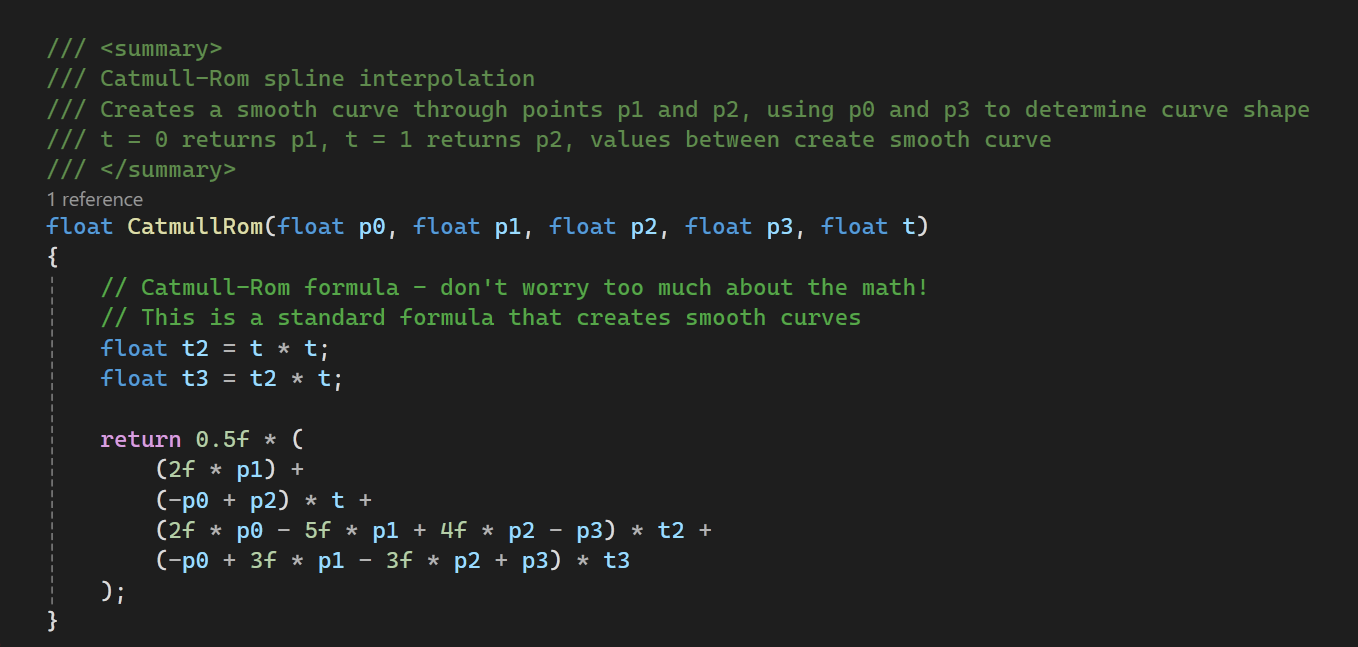
Not like water at all! Claude suggested we add a Catmull-Rom spline interpolation (and hallucinated that the tutorial used it). I like how it can explain it in plainer terms.
A few iterations later (because it messed up a bit by trying to make the mesh before we had triangles) we got this:
Much nicer! This is the meat of the smoothing:
At this point I hit my Claude limit 😢 I decided to just pay for a month to follow through with this part of the game.
My next requests were to make the tension and dampening variable - this is so I can have things like water and syrup behaving differently.
Now I can change it on the fly!
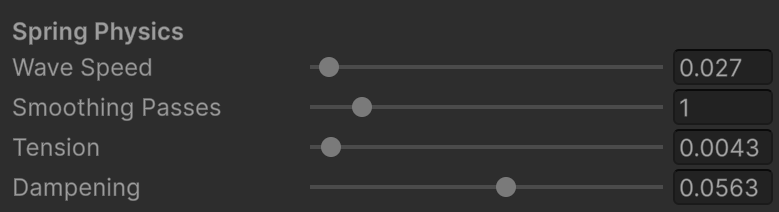
These are my fav settings so far so get the smooth wobble at the start of the video.
At this point I also wanted to add a splash radius - like a large object was pushing down on many springs. This needed an update to the earlier code that just applied force to a single spring:
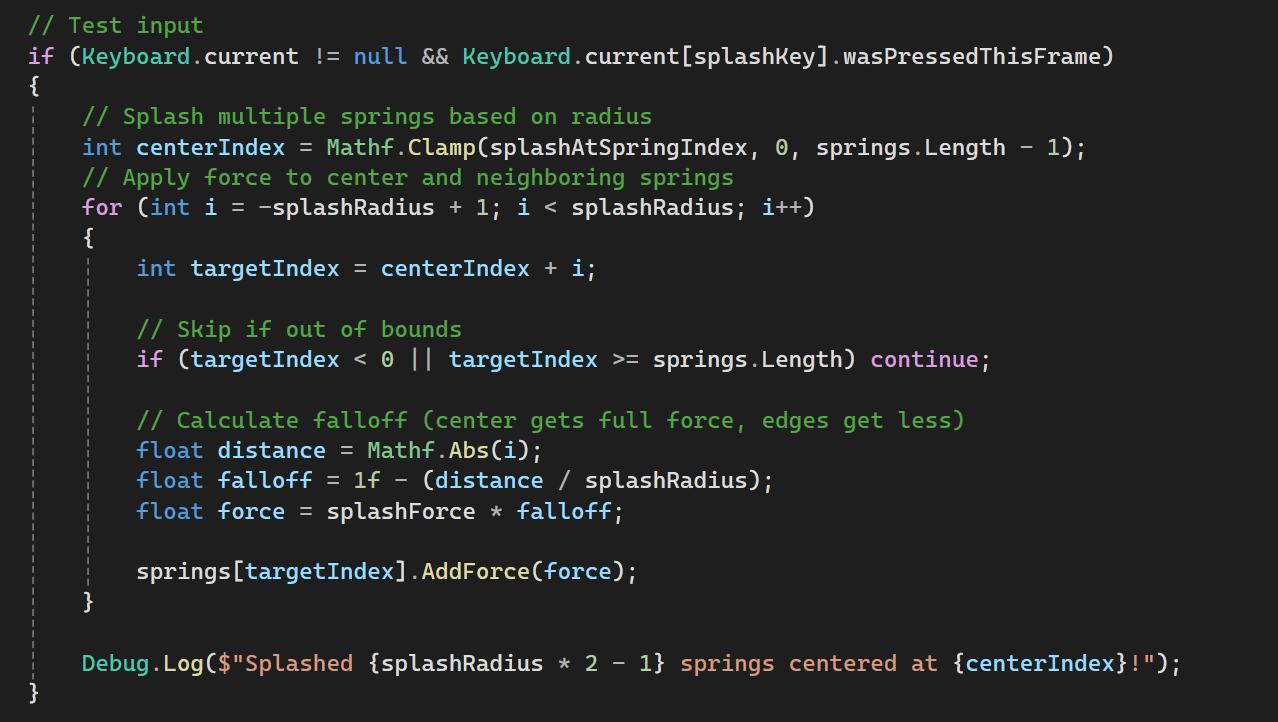
And with that I get this:
.. which looks okay, I think it looks better than the tiny ripples that still look like a zigzag. But! If I turn the dampening down with a large splash:
I think that looks really cool! I feels satisfying to watch! I think I’m trying to make a fun toy you can play with in the pour mechanic. This is meant to be for when you drop pearls or ice cubes or any other large particle in a liquid.
Step 2b: Colliders
This wasn’t in the recommended steps but I want to add it here to test dropping in an item. My first thought was to add a collider on to every spring, but that actually seemed like it might have performance implications.
Of course, I asked Claude here - it recommended to not have a collider on each spring ( at this point I have 50 springs to test) but offered a box collider - a box collider would not follow the shape of the surface though, and would probably have issues changing shapes when the container tilted.
Claude offered an edge collider or a raycast: they both seem good but raycast sounded better for complex things like buoyancy or stirring etc as well as multiple containers. It still recommended I start with the edge collider and add the raycast later, so I shall do that for now.
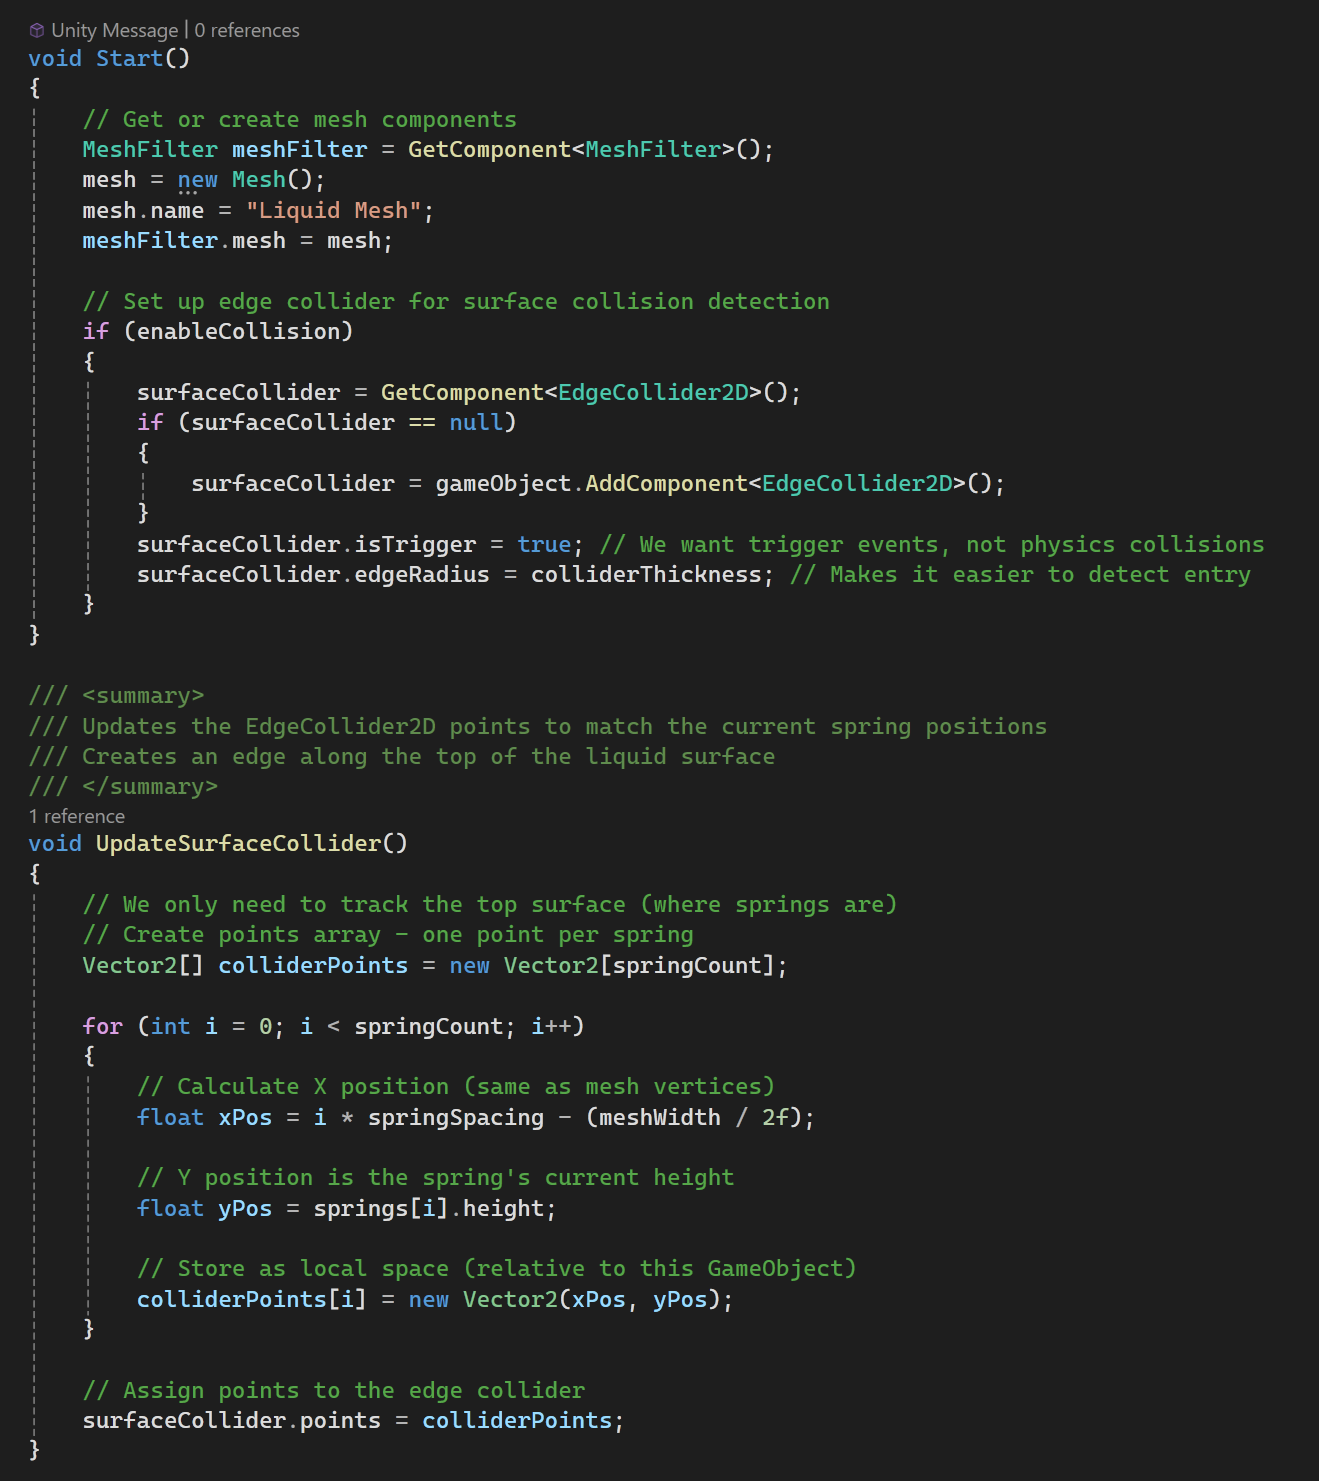
The result is not too shabby:
But the ice cubes being lifted also splash in the same direction! This was actually splashing upward always before an adjustment.
After a few adjustments and a new script for dragging the cube around it looks a bit closer but the physics looks pretty off?
I’ll adjust it tomorrow as it is now later that I expected it to be!